Plastic wrap may be a kitchen staple, but its environmental footprint is far from small. If you’re looking for an eco-friendly alternative, it’s time to give beeswax wraps a try. These reusable, biodegradable wraps are perfect for covering bowls, wrapping sandwiches, and keeping fruits and vegetables fresh. Best of all, making your own is simple, cost-effective, and fully customizable.
This guide will walk you through how to create your own beeswax wraps at home, step by step. You’ll learn about the materials needed, tips for choosing the right fabric and beeswax, and how to troubleshoot common issues.
Why Use Beeswax Wraps?
Before we get started, here are a few reasons to swap out the plastic wrap for homemade beeswax wraps:
- Eco-Friendly: Unlike single-use plastic, beeswax wraps are reusable and compostable, significantly reducing your household waste.
- Cost-Effective: Though there’s an initial investment in materials, making your own wraps is far cheaper than buying premade ones long-term.
- Food-Friendly: Beeswax has natural antibacterial properties, helping to keep your food fresh longer without synthetic additives.
- Customizable: You can make wraps in any size or pattern that suits your needs, ensuring they work perfectly for whatever food storage task you have in mind.
Now, grab your supplies and get ready to DIY!
Materials You’ll Need
To make your beeswax wraps, you’ll need the following supplies:
- 100% Cotton Fabric (Pre-washed): Choose thin, tightly woven fabric to ensure the wax adheres well. Organic cotton is a great option.
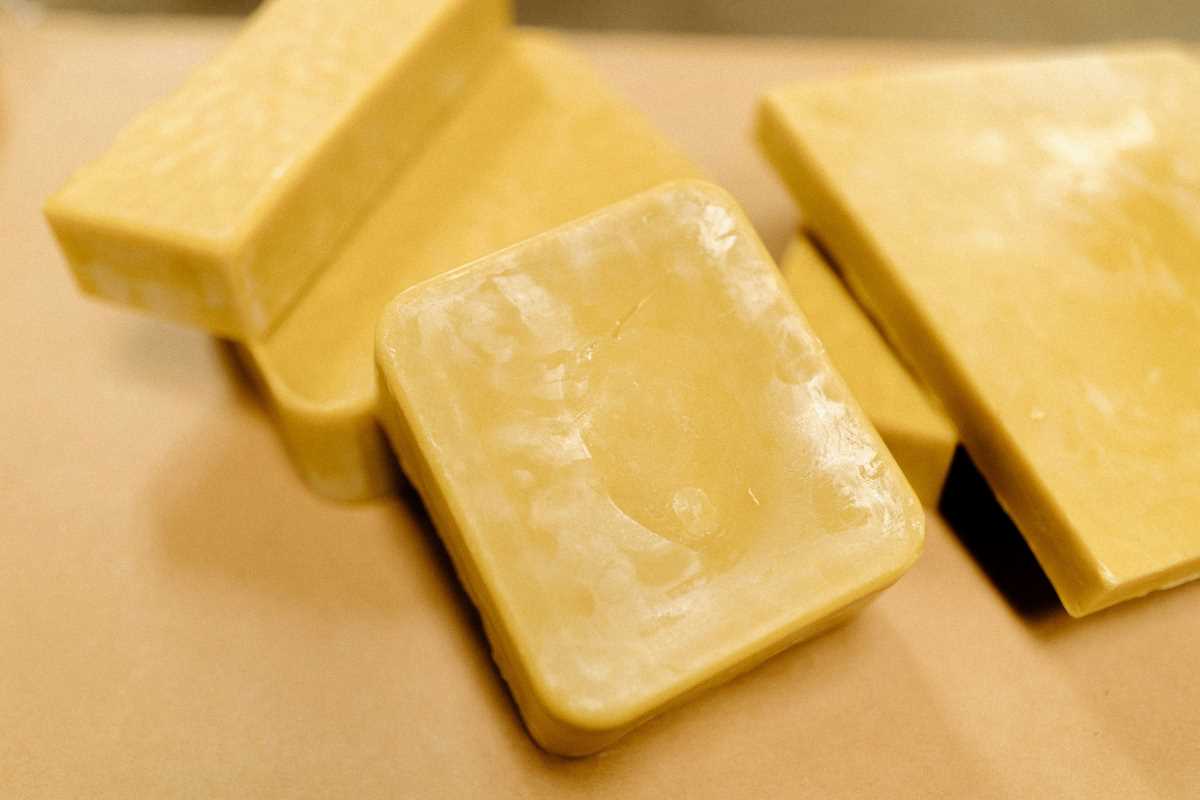
- Beeswax Pellets or a block of beeswax (grated): Look for food-grade beeswax for safety and quality.
- Pine Resin (optional): Adds extra stickiness to your wraps, helping them cling to food and dishes better.
- Jojoba Oil or Coconut Oil (optional): Softens the beeswax to prevent cracking over time.
- Parchment Paper (or a reusable baking liner): Protects your work surface during the waxing process.
- Paintbrush (or Silicone Pastry Brush): Used to spread melted wax evenly across the fabric.
- Baking Sheet: For even heating in the oven.
- An Oven or Iron (choose your preferred melting method).
Step-by-Step Instructions for Making Beeswax Wraps
Step 1: Prepare the Fabric
Start by washing and drying your fabric to remove any residues. Cut the fabric into your desired sizes using scissors or pinking shears to prevent fraying. Common sizes include:
- 8x8 inches for covering small bowls or wrapping snacks.
- 12x12 inches for sandwiches or medium-sized fruits.
- 14x14 inches for larger dishes or loaf bread.
If you’re using patterned fabric, now’s the time to admire how lively your kitchen wraps will look!
Step 2: Create the Wax Mixture
Combine the following ingredients in a double boiler, melting them together over low heat:
- 1 cup beeswax pellets
- 1–2 tablespoons pine resin (optional for extra stickiness).
- 1–2 teaspoons jojoba or coconut oil (optional for flexibility).
Mix thoroughly as the beeswax melts into a smooth consistency. The pine resin may take a bit longer to dissolve, so be patient and stir gently.
Pro Tip: Pine resin can be sticky to handle. Using a silicone spatula or spoon will keep your tools from getting ruined.
Step 3: Prepare Your Workspace
Lay parchment paper or a reusable baking mat over your baking sheet. Preheat your oven to 225°F (or use an iron if you prefer).
Step 4: Coat the Fabric
Place a piece of fabric on the lined baking sheet. Use a paintbrush or pastry brush to apply a thin, even layer of your melted wax mixture onto the surface. Make sure the edges and corners are well-coated, as these areas tend to dry out without enough wax.
Step 5: Heat and Melt
Pop the baking sheet into the oven for about 3–5 minutes. Watch closely, as the wax will melt quickly. Once melted, use your brush to spread the liquid wax more evenly and fill any gaps.
If you’re using an iron instead:
- Layer the fabric between two pieces of parchment paper.
- Run the iron over the top sheet, melting the wax evenly into the fabric.
Step 6: Cool and Cure
Carefully lift the warm fabric off the baking sheet (use tongs to avoid burns). Hold it by the corners for 10–15 seconds to allow the wax to firm up slightly, then place it flat or draped over a rack to dry completely.
Feel free to fold or stack your wraps once they’re cool to the touch.
Tips for Choosing Materials
- Fabric:
- Go for thin, breathable fabrics that absorb wax without becoming stiff. Avoid stretchy or synthetic materials.
- Reuse old cotton bedsheets or thrifted fabrics to reduce waste!
- Beeswax:
- Pellets melt faster than block beeswax and are easier to measure.
- Additives:
- Pine resin improves the grip of your wraps, making them more functional. However, you can skip it if you prefer a simpler process.
Troubleshooting Common Issues
Problem: Uneven Wax Coating
- Solution: Reheat the wrap in the oven or with an iron, then evenly spread the wax with your brush.
Problem: Wax Doesn’t Stick Well to Food or Containers
- Solution: Add pine resin to your wax mixture for stickiness or ensure the fabric is thin enough to absorb wax fully.
Problem: Wraps Lose Stickiness Over Time
- Solution: Refresh the wraps by applying a small amount of additional wax, then reheating and spreading it evenly.
How to Use and Care for Your Beeswax Wraps
Beeswax wraps are highly versatile. Use them to:
- Cover bowls or plates.
- Wrap sandwiches, cheese, or fruits.
- Fold them into pouches to store snacks or baked goods.
Cleaning and Storage
- Wash gently with cool water and mild soap. Avoid hot water, as it can melt the wax.
- Air dry completely before folding or rolling for storage.
- Keep away from direct sunlight or extreme heat to maintain their longevity.
 (Image via


