Imagine plucking fresh, crisp lettuce or vibrant basil right from your kitchen counter in the dead of winter. Picture a garden that uses less water, grows faster, and requires absolutely no digging in the dirt. Sounds like a futuristic dream, right? Well, welcome to the wonderful world of hydroponics!
Hydroponics might sound like a high-tech science experiment reserved for commercial labs, but it is actually an incredibly accessible and rewarding way to garden right at home. Whether you live in a tiny apartment or have a sprawling house, hydroponics opens the door to year-round gardening for everyone. Get ready to trade your shovel for a water reservoir and discover just how easy growing your own food can be!
What is Hydroponics, Anyway?
Simply put, hydroponics is the art of growing plants without soil. Instead of searching for nutrients in the dirt, plant roots are submerged in or misted with a nutrient-rich water solution. This direct access to food and water allows plants to grow up to 50% faster than they would in soil!
Why should you give it a try? The benefits are amazing:
- Space-Saving: You can grow more food in less space, making it perfect for indoor gardening.
- Water-Efficient: Hydroponic systems recirculate water, using up to 90% less than traditional gardening.
- No Weeds or Pests: Say goodbye to weeding and soil-borne diseases!
- Year-Round Harvests: You control the environment, so you can grow strawberries in December or spinach in July.
Step 1: Choose Your System
There are several types of hydroponic systems, but for beginners, the Deep Water Culture (DWC) system is the gold standard. It is simple, affordable, and incredibly effective. In a DWC system, the plants are suspended in net pots above a reservoir of nutrient-rich water, with their roots dangling down into the solution. An air pump provides oxygen to the roots to keep them healthy.
Step 2: Gather Your Materials
You don't need expensive equipment to get started. In fact, you can build a highly effective DWC system with items from your local hardware store!
Here is your shopping list:
- A Reservoir: An opaque plastic storage tote (5 to 10 gallons) works perfectly. It must be opaque to prevent algae growth.
- Net Pots: These are small plastic baskets that hold the plants.
- Growing Medium: This supports the plant stem. Clay pebbles (hydroton) or rockwool cubes are excellent choices.
- Air Pump and Air Stone: This provides essential oxygen to the water so the roots don't drown. A simple aquarium pump does the trick.
- Nutrient Solution: A high-quality liquid fertilizer specifically designed for hydroponics.
- pH Test Kit: To monitor the acidity of your water.
- Plants: Start with leafy greens like lettuce, spinach, or herbs like basil and mint. They are the easiest for beginners!
Step 3: Build Your System
Now for the fun part—putting it all together!
- Prepare the Lid: Place your net pots upside down on the lid of your tote and trace circles around them. Cut out the holes so the pots sit securely in the lid without falling through.
- Set Up the Aeration: Drill a small hole near the top of the tote for the airline tubing. Connect the air stone to the tubing, place the stone inside the tote, and run the tubing out to the air pump.
- Fill the Reservoir: Fill your tote with water, leaving about an inch of space at the top. This gap ensures the roots get plenty of oxygen.
- Mix the Nutrients: Follow the instructions on your hydroponic fertilizer bottle carefully. Add the nutrients to the water and stir well.
- Check the pH: Use your test kit to check the water's pH level. Most vegetables thrive in a pH range of 5.5 to 6.5. If it's too high or low, use a "pH Up" or "pH Down" solution to adjust it.
Step 4: Plant Your Garden!
If you are starting from seeds, germinate them in rockwool cubes first. Once the seedlings have visible roots sticking out of the bottom of the cube, they are ready for their new home.
Place the seedling (rockwool cube and all) into a net pot. Gently fill the space around the cube with clay pebbles to support the plant. Place the net pot into the hole in the lid.
Crucial Tip: When you first start, the water level should be high enough to just barely touch the bottom of the net pot. This encourages the roots to grow down into the water. As the roots get longer, you can lower the water level slightly.
Step 5: Light It Up
Plants need light to eat! If you have a sunny, south-facing window, that might be enough for low-light plants like lettuce. However, for robust growth (especially in winter), invest in a simple LED grow light. Hang the light about 6-12 inches above your plants and keep it on for 12-16 hours a day.
Maintenance: Keeping Your Garden Happy
The best part about hydroponics is the low maintenance. Here is your weekly checklist:
- Check Water Levels: As plants drink, the water level will drop. Top it off with fresh water mixed with a half-strength nutrient solution.
- Monitor pH: Check the pH every few days and adjust as needed. Drastic swings can shock your plants.
- Watch for Root Health: Healthy roots should be white or cream-colored. If they turn brown or slimy, it might be root rot, which usually means they aren't getting enough oxygen. Check your air pump!
- Change the Water: Every 2-3 weeks, completely empty the reservoir and refill it with fresh nutrient solution to prevent salt buildup.
Common Mistakes to Avoid
Even seasoned gardeners make mistakes! Here is how to avoid the most common pitfalls:
- Ignoring pH: If the pH is off, plants can't absorb nutrients, no matter how much fertilizer you add. Don't skip this step!
- Not Enough Light: Leggy, weak plants are usually crying out for more light. Move your grow lights closer.
- Overheating the Water: Roots hate hot water. Try to keep your reservoir temperature between 65°F and 75°F (18°C-24°C).
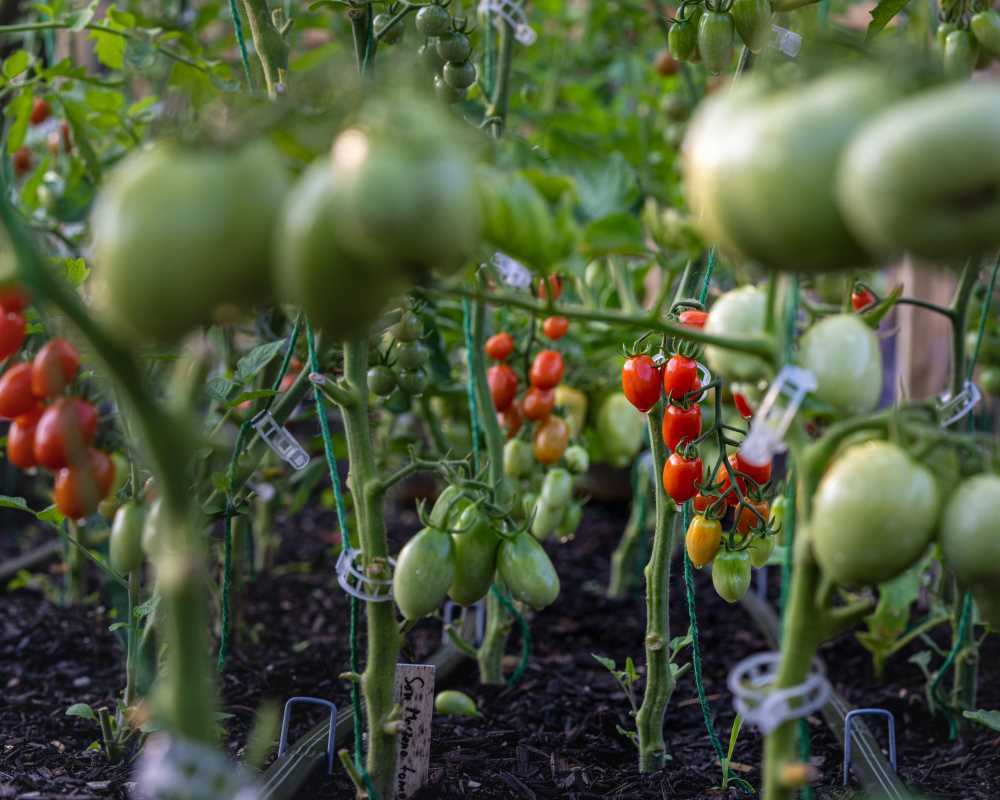
- Starting Too Big: It’s tempting to grow tomatoes and peppers right away, but fruiting plants are more complex. Stick to leafy greens for your first harvest to build confidence.