 (Image via
Few things create a more inviting ambiance than the warm, golden glow of a candle. Unfortunately, many store-bought candles can release harmful chemicals into the air, posing potential health risks. That’s why DIY beeswax candles are an excellent alternative. Not only are they non-toxic and easy to make, but they also add a touch of natural charm to your home. Even better, beeswax has air-purifying properties, making it a healthier choice for you and your loved ones.
In this guide, you’ll learn how to create three types of beeswax candles: jar candles, rolled candles, and molded candles. We’ll also share tips on sourcing the best materials, resolving common challenges, and customizing your candles with scents and colors to suit your style.
Why Choose Beeswax Candles?
Before we get started, it’s worth noting what makes beeswax candles special:
- Non-Toxic and Natural: Beeswax is 100% natural and doesn’t release harmful chemicals like paraffin candles can.
- Air-Purifying: Beeswax emits negative ions when burned, which can help neutralize pollutants and allergens in your home.
- Clean-Burning: These candles produce minimal soot and smoke, making them a safer option.
- Long-Lasting: Beeswax candles burn longer than many other types, giving you hours of warm, flickering light.
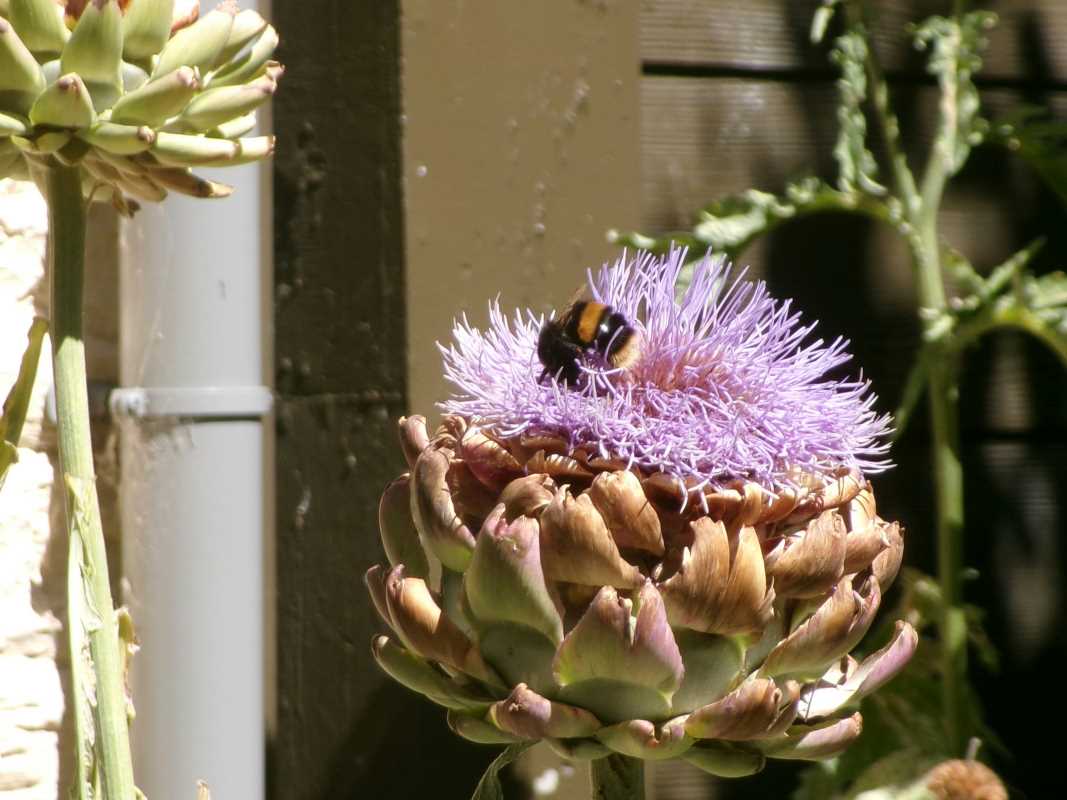
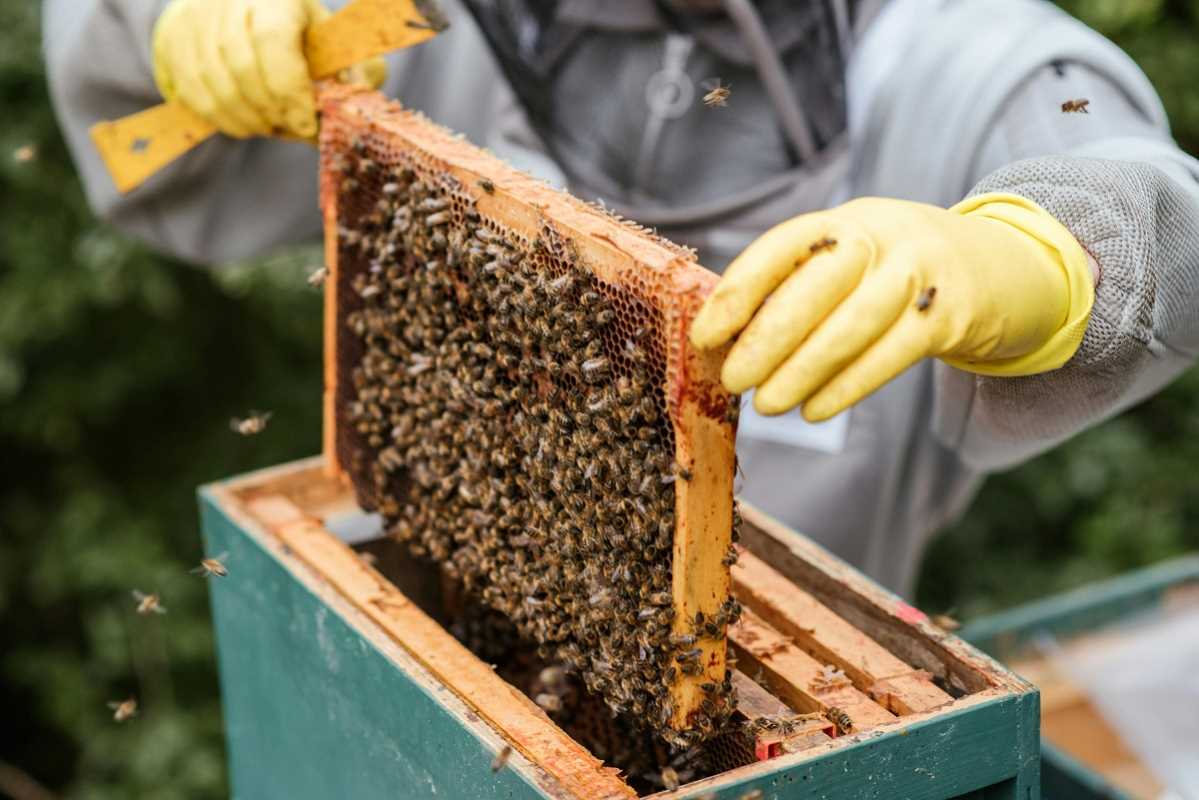
- Eco-Friendly and Sustainable: Using beeswax supports beekeepers and the vital role bees play in ecosystems.
If you’re ready to bring these benefits into your home, gather the following materials and get started.
Materials You’ll Need
Depending on the type of candle you’re making, here’s what you’ll need:
Essentials:
- Beeswax (pellets or blocks): Pellets are easier to melt, but blocks can be grated down. Look for filtered, food-grade beeswax for best results.
- Wicks: Choose cotton or hemp wicks, and use the appropriate thickness for your candle size.
- Containers or Molds:
- For jar candles, any heat-safe glass or metal jar works.
- For molded candles, silicone molds are ideal.
- For rolled candles, you’ll use pre-rolled beeswax sheets.
- Double Boiler or Heat-Safe Bowl (for melting wax).
- Thermometer (optional): Helps you monitor wax temperature for optimal pouring.
- Clothespins or Wick Holders (for stabilizing wicks).
- Essential Oils (optional): Add natural fragrance to your candles.
- Natural Dyes or Pigments (optional): Create beautiful, colorful candles with plant-based or mineral colorants.
How to Make Beeswax Candles
Here’s how to create three different types of beeswax candles, step by step.
1. Jar Candles
Jar candles are perfect for beginners and give off a classic, warm glow.
Instructions:
- Prepare the Jar:
- Clean a heat-resistant jar and make sure it’s completely dry.
- Secure the wick in the center of the jar using a dab of melted beeswax or a wick sticker. Use a clothespin or pencil across the top of the jar to keep the wick upright.
- Melt the Beeswax:
- Add beeswax pellets to a double boiler and heat over low to medium heat. Stir occasionally until fully melted.
- If desired, add 10–20 drops of essential oil to the melted wax for a subtle scent.
- Pour the Wax:
- Allow the wax to cool slightly (around 140–155°F). Pour it gently into the jar, being careful not to disturb the wick.
- Set the Candle:
- Leave the candle to cool and harden for a few hours. Trim the wick to about ¼ inch before lighting.
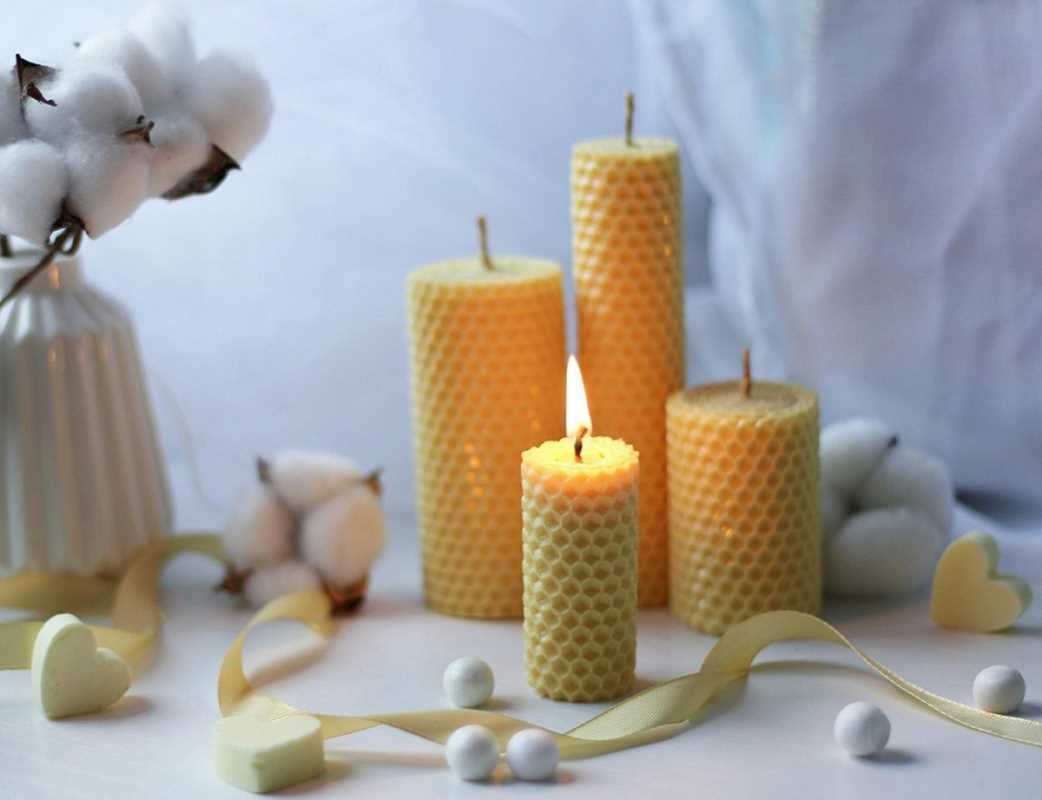
2. Rolled Beeswax Candles
Rolled candles are a charming, fast alternative to poured versions and look stunning on dining tables.
Instructions:
- Cut the Wick:
- Cut a length of wick about 1 inch longer than the height of your rolled candle.
- Prepare the Beeswax Sheet:
- Lay a beeswax sheet flat on a clean surface. If you want a shorter candle, cut the sheet to the desired height.
- Roll the Candle:
- Place the wick along one edge of the sheet, leaving about ½ inch of wick at the top.
- Gently roll the sheet around the wick, applying even pressure. Ensure the edges are tight and secure as you roll.
- Customize:
- You can layer multiple sheets of different colors for a striped effect or use textured beeswax sheets for added interest.
- Finish:
- Trim the wick and your candle is ready to use, no curing time required.
3. Molded Beeswax Candles
Want to experiment with shapes? Molded beeswax candles are the way to go.
Instructions:
- Select a Mold:
- Silicone molds work best for candles, as they’re flexible and easy to use.
- Prepare the Mold:
- Thread the wick through the mold’s center hole (if it has one), and secure it with tape on the bottom. Leave a length of wick protruding from the top.
- Melt and Pour:
- Melt beeswax in a double boiler as for jar candles. Once melted, pour the wax into the mold, holding the wick steady.
- Cool and Unmold:
- Allow the wax to cool completely (this can take several hours). Gently remove the candle from the mold and trim the wick.
- Finish:
- If there are imperfections, smooth them out by rubbing warm hands over the surface or gently trimming stray edges with a knife.
Troubleshooting Tips
No candle-making experience is without a few hiccups. Here’s how to solve common issues:
- Uneven Burning or Tunneling:
- Ensure the wick is the right size for the candle’s diameter.
- Allow the candle to burn long enough on its first use for the melted wax pool to reach the edges.
- Cracked Surface:
- This happens if the wax cools too quickly. Slow the cooling process by placing the jar in a warm spot.
- Faint or Uneven Scent:
- Add essential oils when the wax is fully melted but not overly hot (under 160°F) to preserve the scent.
Tips for Sourcing and Customizing
Sourcing Quality Beeswax
- Look for local beekeepers or farmer’s markets to buy high-quality beeswax.
- Choose yellow beeswax for a natural look or white beeswax for more vibrant colored candles.
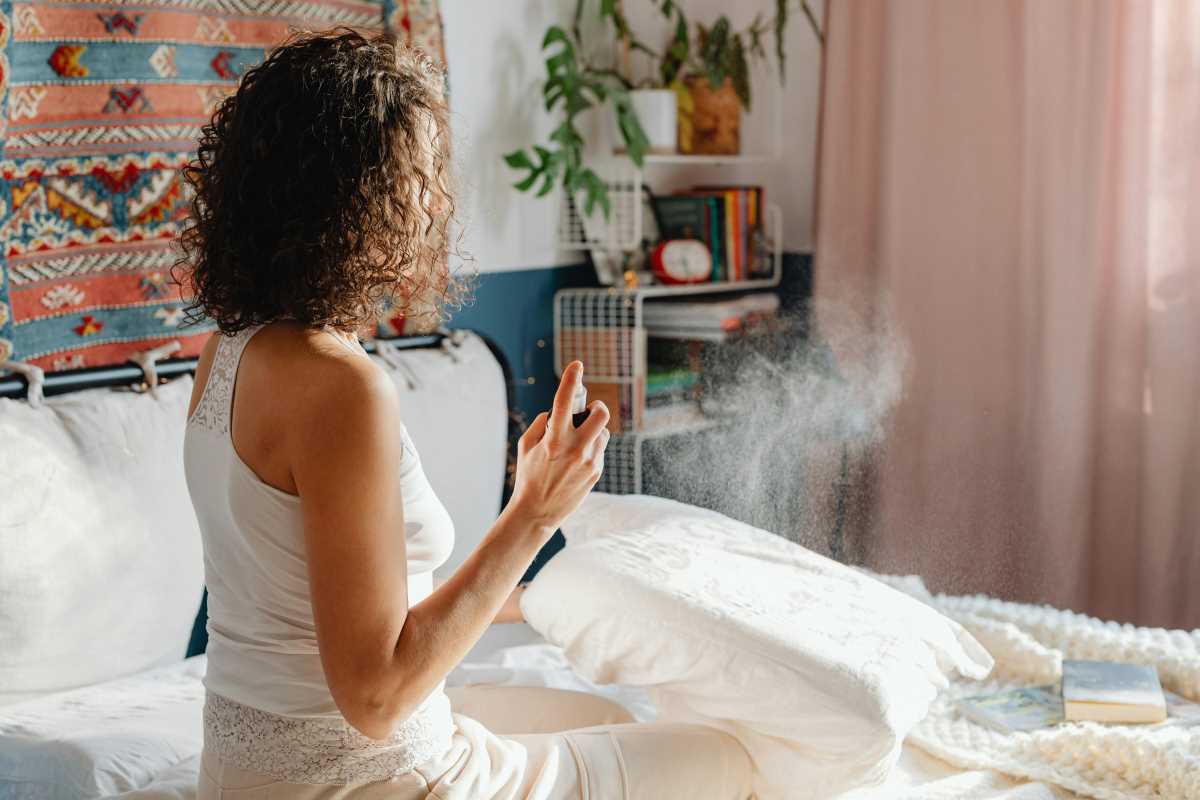
Adding Fragrance
- Popular essential oils include lavender, eucalyptus, and orange. Use roughly 1 ounce of oil per pound of wax for stronger fragrances.
Creating Colorful Candles
- Use plant-based dyes like spirulina for green or beetroot powder for red tones. Mix thoroughly into melted wax for even color.
Aside from the satisfaction of creating something beautiful with your hands, DIY beeswax candles make excellent gifts and allow you to personalize your home in a way store-bought options can’t match.