 (Image via
Gardening is deeply rewarding, but traditional methods can sometimes feel overwhelming, especially with all the digging, tilling, and back-breaking effort involved. Enter the no-dig garden bed, a game-changer for gardeners seeking a low-maintenance and eco-friendly approach. Not only does this method save you time and effort, but it also promotes healthier soil and happier plants.
This guide will take you through the steps to create your very own no-dig garden bed, explore its benefits, and offer tips for long-term maintenance. Whether you’re new to gardening or a seasoned pro looking for a more sustainable approach, no-dig gardening is worth a try.
What Is a No-Dig Garden Bed, and Why Choose It?
A no-dig garden bed is exactly what it sounds like: a way to grow plants without disturbing the soil through digging or tilling. Instead, this method layers organic materials directly on top of the soil, mimicking the natural buildup of organic matter found in forests.
Key Benefits of a No-Dig Garden Bed
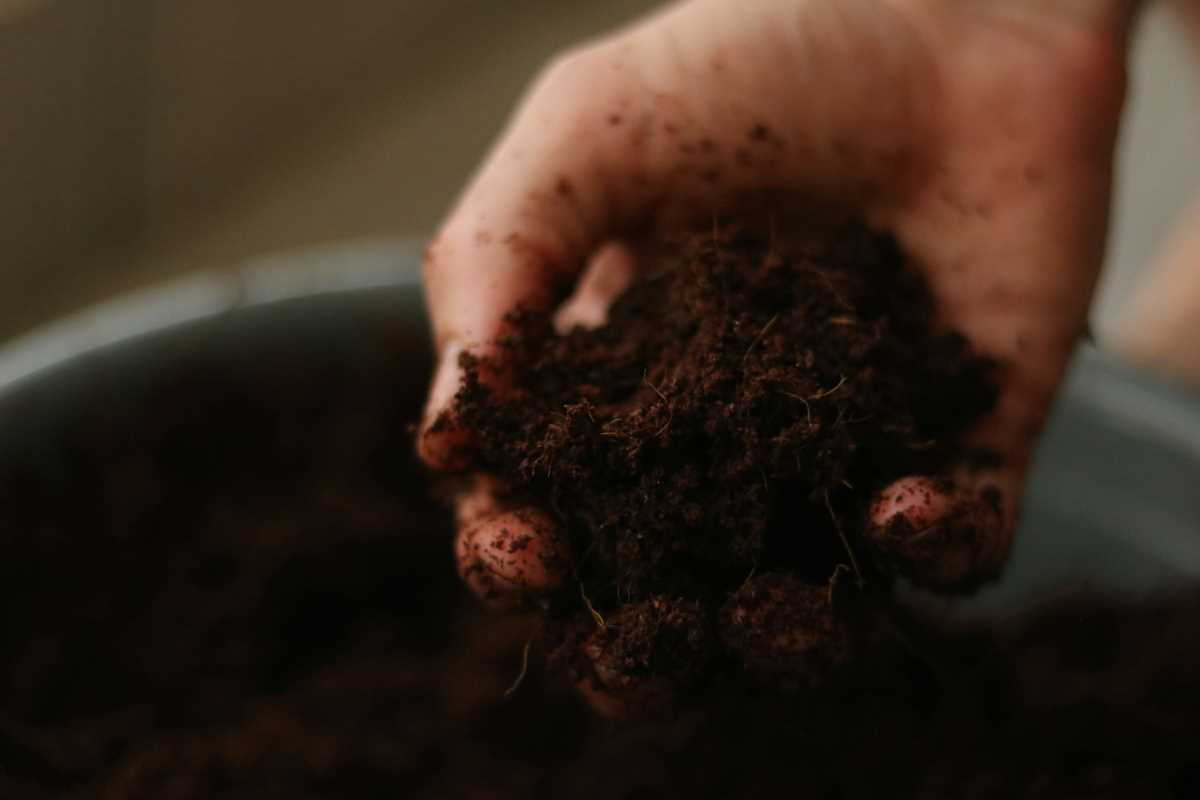
- Improved Soil Health: By avoiding digging, you preserve the natural structure of the soil, including the networks of fungi, microorganisms, and earthworms that support plant growth.
- Reduces Labor: No digging means less heavy lifting and an easier setup process.
- Weed Suppression: Layers of organic matter smother weeds, saving you time on weeding.
- Conserves Soil Moisture: The mulch layers act as natural insulation, keeping soil moist and reducing the need for frequent watering.
- Eco-Friendly: By composting materials directly in the bed, you minimize waste and contribute to a more sustainable garden.
Materials You’ll Need
The beauty of a no-dig garden bed is that it uses materials you likely already have on hand or can access easily and affordably. Here’s what you’ll need to get started:
1. Cardboard or Newspaper
Used as the first layer, these materials smother grass and weeds while breaking down naturally in the soil.
- Tip: Make sure to remove any tape, staples, or glossy print from the cardboard or newspaper.
2. Organic Waste or Compost
Rich in nutrients, compost acts as the foundation for plant health in your no-dig bed.
- Tip: Use kitchen scraps, grass clippings, or well-rotted manure for your compost layer.
3. Mulching Material
Mulch acts as the top layer of your no-dig bed, retaining moisture and protecting the soil.
- Options Include: Straw, wood chips, dried leaves, or even grass clippings.
4. Optional Borders
Adding a frame to your bed isn’t essential, but it can help define the space and keep materials contained.
- Options Include: Wooden planks, bricks, or recycled materials like old pallets.
Step-by-Step Guide to Creating a No-Dig Garden Bed
Step 1. Pick the Perfect Spot
Choose a location that receives adequate sunlight for the plants you want to grow. Most fruits and vegetables need 6–8 hours of direct sunlight each day.
- Tip: Ensure the area has good drainage, as pooling water can interfere with plant growth.
Step 2. Prepare the Ground
There’s no digging involved, but some basic preparation ensures a smooth start.
- Mow or flatten any tall grass or weeds in the area.
- Lay down a thick layer of cardboard or several layers of newspaper, overlapping the edges to prevent weeds from sneaking through.
- Tip: Water this layer thoroughly to help it stick to the ground and start breaking down faster.
Step 3. Add Layers of Organic Material
The key to a healthy no-dig garden is creating fertilized, nutrient-rich layers. Imagine building a lasagna!
- Compost Layer: Add 4–6 inches of organic compost or well-rotted manure. This layer provides the nutrients your plants need to grow.
- Mulch Layer: Top the compost with 3–4 inches of mulch, such as straw, wood chips, or dried leaves.
- Tip: Use a variety of organic materials to ensure a diverse mix of nutrients.
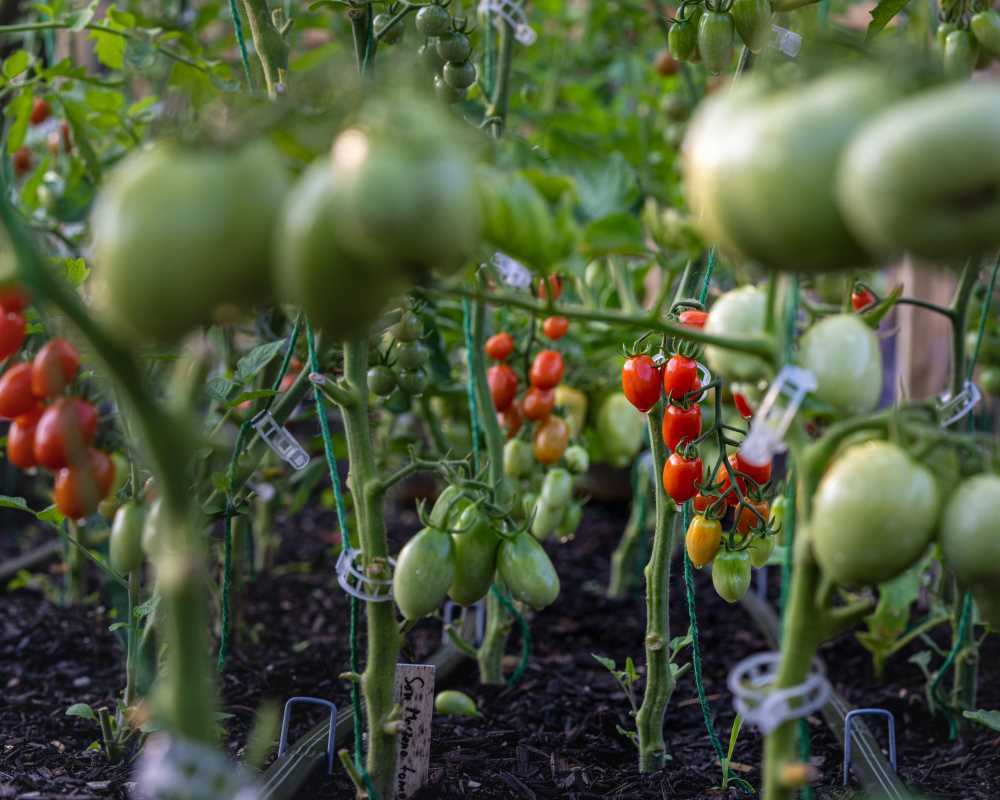
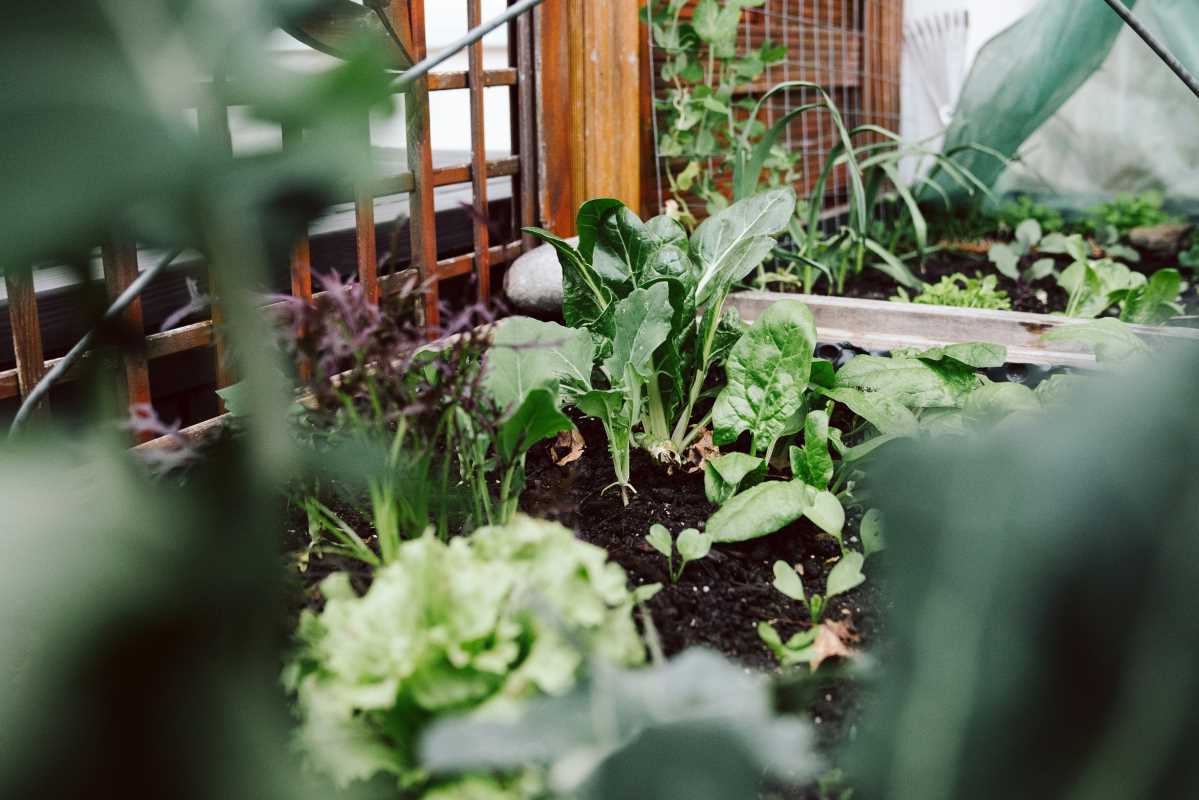
Step 4. Plan and Plant
Once your no-dig bed is set up, you can start planting right away or wait a few weeks for the materials to settle.
- Direct Planting: Create small holes in the mulch layer to insert seeds or seedlings.
- Optional Resting Period: Allow the bed to rest for 4–6 weeks, giving the organic materials time to integrate and decompose.
- Tip: Use companion planting to maximize growth and naturally deter pests (e.g., plant marigolds near tomatoes to ward off harmful insects).
Tips for Maintaining a No-Dig Garden Bed
The no-dig method is low-maintenance, but a little ongoing care will ensure long-lasting success.
1. Regularly Add Mulch
Over time, the mulch layer will break down into the soil. Replenish it regularly with fresh organic matter to maintain its protective benefits.
2. Minimize Disturbance
Avoid walking or compacting the soil in your no-dig bed. Use stepping stones or pathways to keep foot traffic away from the planting area.
3. Weed Control
While the no-dig layers suppress most weeds, a few persistent ones may pop up. Remove them by hand without disturbing the soil too much.
4. Rotate Crops
To prevent nutrient depletion, rotate the crops you grow in your bed each season. For example, alternate heavy feeders like tomatoes with nitrogen-fixing plants like beans.
5. Water Wisely
Although mulch retains moisture, your garden bed may still need occasional watering. Water deeply in the early morning to allow roots to absorb moisture before the sun heats the soil.
Frequently Asked Questions
1. Can I Use a No-Dig Bed for Perennials?
Yes! A no-dig bed is perfect for perennials like berries, herbs, and flowers. With minimal soil disturbance, these plants can establish strong root systems.
2. Do I Need to Use Fertilizer?
Not necessarily. The organic layers decompose over time, releasing nutrients into the soil. However, if you notice signs of nutrient deficiency, you can add an organic fertilizer or extra compost.
3. How Long Does It Take to Build a No-Dig Bed?
The process is quick and can usually be completed in a couple of hours. It’s one of the easiest ways to transform a grassy area into a productive garden space.
4. What Happens If I See Pests?
Pests, such as slugs or snails, may occasionally appear in a no-dig garden. Use organic methods like sprinkling crushed eggshells around plants or introducing natural predators like ladybugs to keep pests under control.
Why No-Dig Gardening Is a Win-Win
A no-dig garden offers so much more than just a reduced workload. By mimicking natural processes, it creates an environment where plants, soil, and microorganisms can flourish together. It’s a method that works for gardeners of all experience levels while benefiting the planet.
Whether you’re passionate about sustainability or simply want healthier plants with less effort, the no-dig approach is a great fit. Decide on your plot, gather your materials, and start layering. Before you know it, you’ll be harvesting fresh veggies and tending to happy, healthy plants.