 (Image via
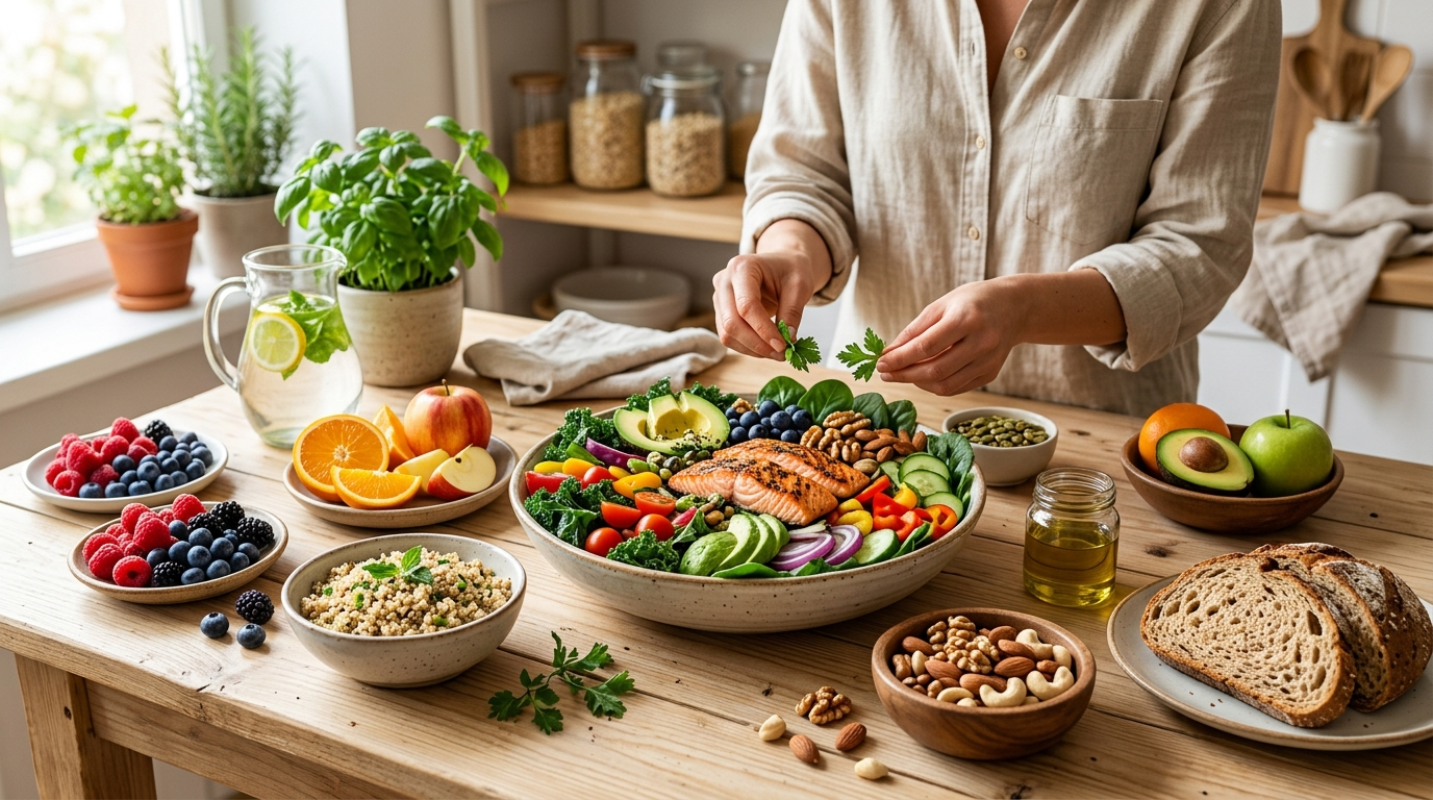
Cheese lovers going vegan often face one big question: “What about the cheese?” While store-bought vegan cheeses have come a long way, there’s something special about crafting your own at home. Not only is homemade vegan cheese budget-friendly and customizable, but it also uses wholesome ingredients that you control.
At the heart of many vegan cheese recipes is a magic ingredient that delivers a distinctly cheesy flavor without dairy. Enter nutritional yeast, or "nooch," as it’s affectionately known among vegans. This flaky, golden seasoning has a nutty, umami-packed taste that makes it a staple in many plant-based kitchens.
Today, we’re walking you through how to make your own vegan cheese using nutritional yeast. From spreadable cheese to a rich sauce and even a firmer, sliceable cheese, you’ll find all the inspiration you need to take that leap into cheese-making heaven.
What Makes Nutritional Yeast “Cheesy”?
If you’re new to nutritional yeast, you’re in for a treat. These tiny flakes are created from deactivated yeast (so don’t worry about it tasting like bread dough!). Its natural savory flavor is loaded with umami, mimicking the tang and depth of real cheese. Plus, it’s packed with nutrients like B vitamins, often including B12, making it as nutritious as it is delicious.
Whether you’re looking to whip up a gooey mac and cheese sauce or a parmesan-like sprinkle, nooch is your go-to for the job.
Recipe #1: Creamy, Spreadable Vegan Cheese
First on the list is a simple spreadable cheese with a tangy, cheesy flavor that’s perfect for crackers, sandwiches, or even celery sticks.
Ingredients
- 1 cup raw cashews (soaked in water for 4-6 hours or boiled for 15 minutes)
- 2 tbsp nutritional yeast
- 1 tbsp lemon juice
- 1 tbsp apple cider vinegar
- 1/4 tsp garlic powder
- 1/4 tsp onion powder
- 1/4 tsp salt, or to taste
- 2–4 tbsp water (to adjust consistency)
Instructions
- Drain the cashews and add them to a high-speed blender or food processor.
- Add nutritional yeast, lemon juice, apple cider vinegar, garlic powder, onion powder, salt, and 2 tablespoons of water.
- Blend until smooth, pausing to scrape down the sides. Add more water, a tablespoon at a time, for a thinner consistency.
- Taste and adjust seasonings as needed.
- Transfer to a jar or container and refrigerate for at least 1 hour to firm up.
Serving Suggestions: Spread this cheese on toast, crackers, or bagels. For extra flair, swirl in chopped herbs like dill or parsley.
Recipe #2: Gooey Vegan Cheese Sauce
If you dream of a velvety sauce for pasta, nachos, or baked potatoes, this gooey vegan cheese sauce is the ultimate solution. Nutritional yeast shines here, giving the sauce its signature cheese-like flavor.
Ingredients
- 1 cup potato (peeled and diced)
- 1/2 cup carrot (peeled and diced)
- 1/4 cup raw cashews
- 1/4 cup nutritional yeast
- 2 tbsp olive oil or vegan butter
- 1/2 tsp garlic powder
- 1/2 tsp onion powder
- 1/2 tsp smoked paprika (optional)
- 1–1.5 cups plant-based milk (unsweetened and unflavored)
- Salt and pepper to taste
Instructions
- Boil the diced potato, carrot, and cashews together in a pot of water for 10–12 minutes, until the vegetables are tender. Drain and set aside.
- Blend the cooked potato, carrot, and cashews along with nutritional yeast, olive oil, garlic powder, onion powder, and smoked paprika.
- Gradually add plant-based milk, blending until the sauce reaches your desired consistency. For a thicker sauce, use less milk; for a thinner sauce, use more.
- Taste and adjust with salt and pepper.
- Heat the sauce in a pan over low heat, stirring occasionally, until it’s warm and gooey.
Serving Suggestions: Drizzle this sauce over nachos, mix it with pasta for a macaroni-inspired delight, or use it as a dip for crudités. It’s also heavenly poured over roasted vegetables.
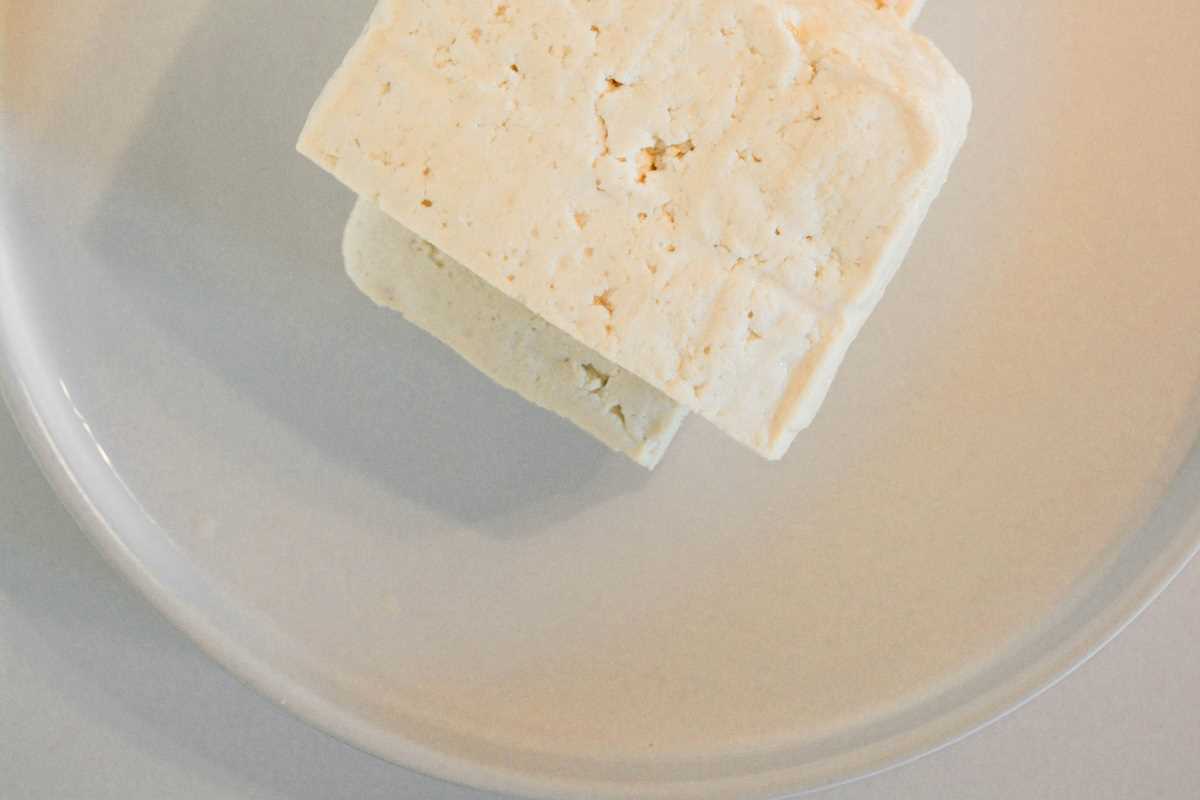
Recipe #3: Sliceable Vegan Cheese
For those who miss cheese plates or sandwiches loaded with sliced cheddar, this firmer, sliceable vegan cheese will be your new favorite DIY project.
Ingredients
- 1 1/4 cups unsweetened plant-based milk (soy or almond works best)
- 1/4 cup nutritional yeast
- 3 tbsp tapioca starch (or cornstarch)
- 2 tbsp agar-agar powder (a plant-based thickener)
- 1–2 tbsp olive oil (optional, for creaminess)
- 1 tsp lemon juice
- 1/2 tsp garlic powder
- 1/4 tsp salt
Instructions
- Combine all the ingredients in a blender, ensuring there are no lumps.
- Pour the mixture into a saucepan and cook over medium heat, whisking constantly.
- After several minutes, the mixture will begin to thicken and stretch. Cook until it reaches a thick, molten texture. (This may take 5–7 minutes.)
- Quickly pour the cheese into a greased or silicone mold. Smooth the top with a spatula if needed.
- Refrigerate for at least 2 hours until the cheese firms up.
Serving Suggestions: Slice this cheese for sandwiches, shred it over salads, or cube it for snacking. For variation, mix in herbs, sun-dried tomatoes, or pepper flakes before refrigerating.
Tips for Success
Making vegan cheese at home is as much about art as it is about science. Here are some key tips to keep in mind for the best results:
- Choose your star ingredient wisely: Cashews, nutritional yeast, and agar-agar are common staples for vegan cheese recipes. Make sure your cashews are raw and unsalted, your yeast is fortified, and your agar-agar is powdered (not flakes, which require different measurements).
- Taste as you go: Since nutritional yeast is inherently savory, make sure to adjust the seasonings to your palate. A little extra garlic, a dash of mustard, or a hint of paprika can take things to the next level.
- Storage: Store vegan cheeses in airtight containers in the fridge. Spreadable and sliceable cheeses typically last up to 5–7 days. Sliceable cheese can also be frozen for up to a month.
- Experiment with flavors: Add smoked paprika for a smoky twist, turmeric for a golden hue, or a dab of miso paste for enhanced umami.
Crafting your own vegan cheese opens up a world of delicious possibilities. With nutritional yeast as the backbone, you can create spreadable, drizzly, or sliceable cheeses that rival anything store-bought. Best of all, you’re in complete control of the ingredients, flavors, and textures.